

Appearance

Horilla private media file configuration with AWS s3 bucket
When managing media files like employee photos, resumes, attachments, etc. in your existing HRMS, Horilla, it can be challenging to ensure security and accessibility. Utilizing AWS S3 for private media storage offers a scalable, secure, and reliable solution. In this guide, we’ll show you how to configure Horilla to store media files in a private S3 bucket, ensuring that data remains secure and accessible only through your application.
Step 1: Setting up AWS S3 Bucket and User
Before integrating AWS S3 with Horilla, let's first configure the necessary components in AWS.
1.1 Create an AWS IAM User
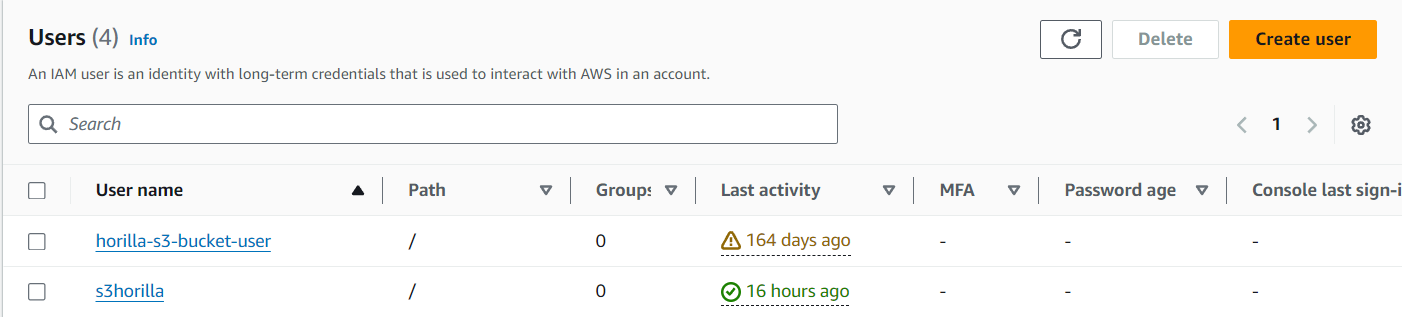
- Log in to your AWS Management Console and switch to IAM (Identity and Access Management).
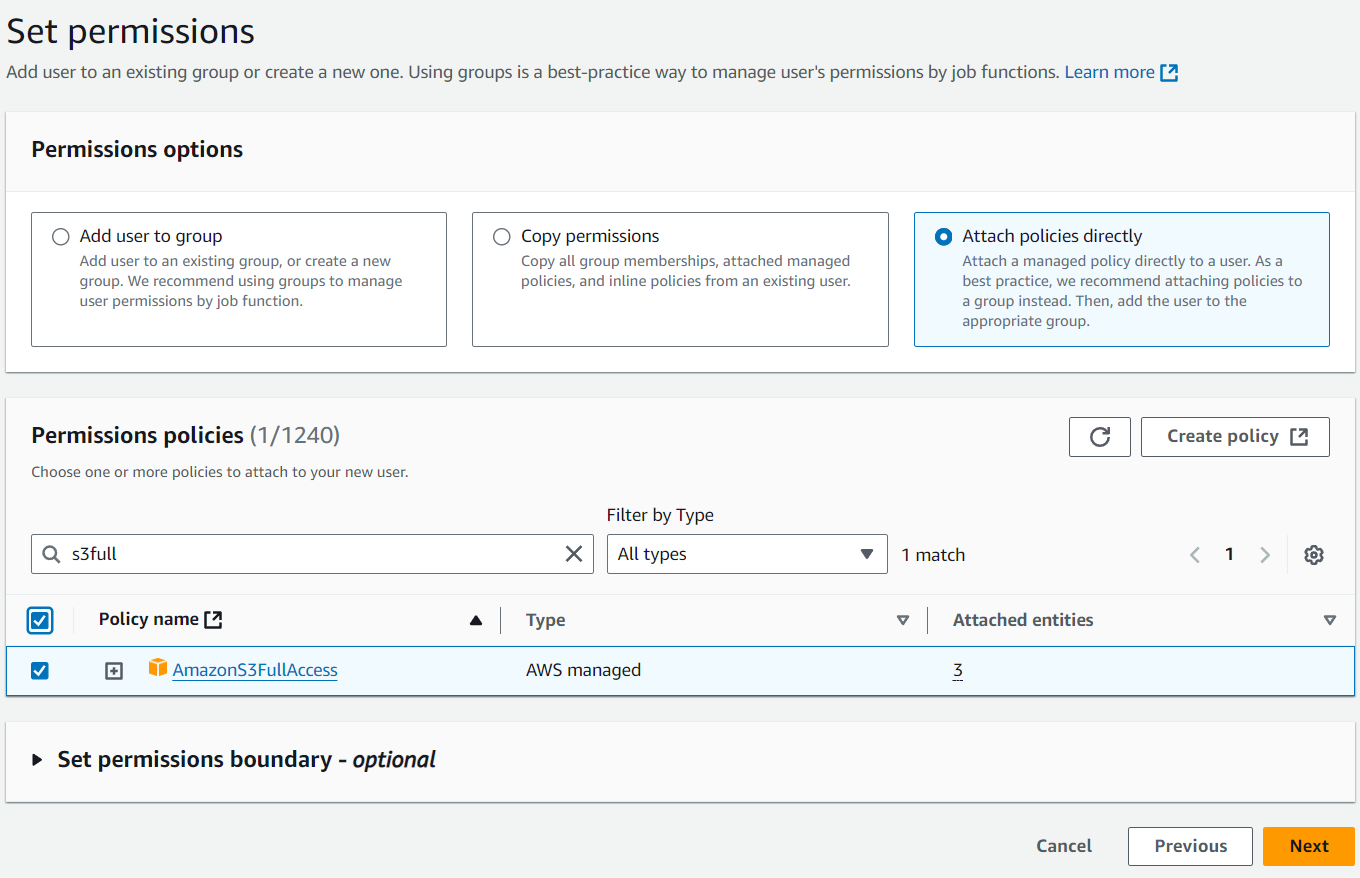
- Create a new IAM user with AmazonS3FullAccess permission. This ensures the user has full access to manage S3 buckets and objects.
- Once the user is created, navigate to the Security Credentials tab in the user's details view.

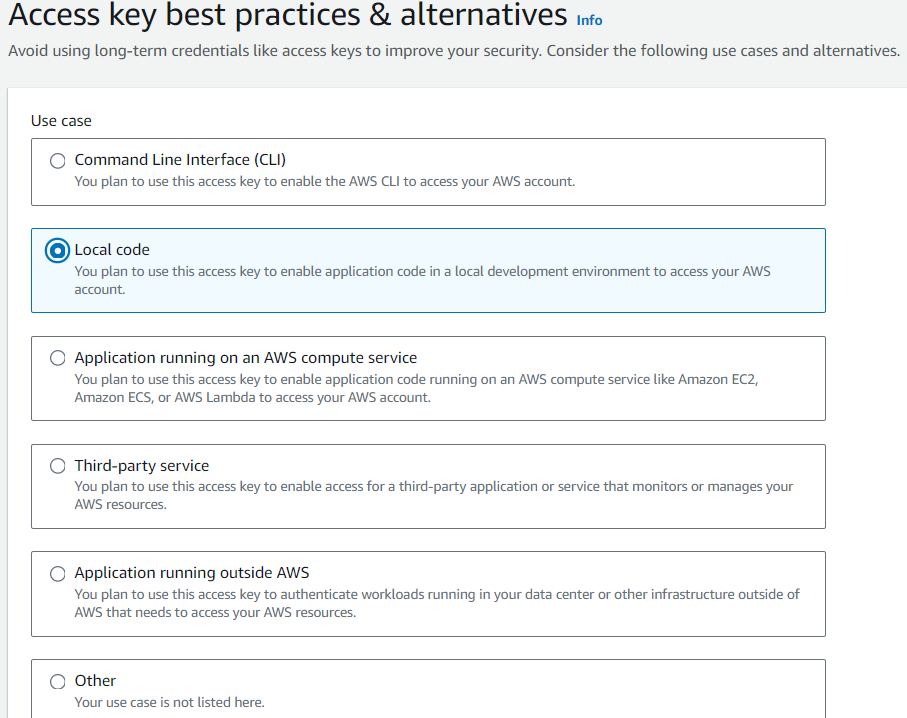
- Generate a new Access Key. Choose the “Local Code” option for best practices.
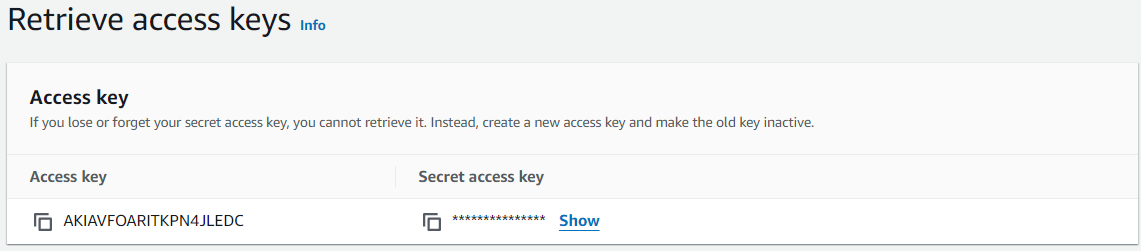
- Make sure to note down the Access Key ID and Secret Access Key, as these will be used later in the Horilla configurations.
1.2 Create an S3 Bucket
- To access S3 in the AWS Management Console, simply log in and select "S3" from the "Services" menu.
- Create a new S3 bucket for storing your media files. Make sure to enable Block all public access check box to keep your data private.
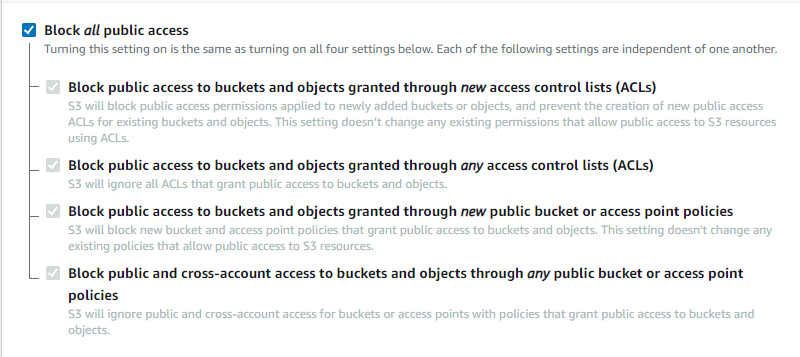
- Take note of the bucket name and region, as these will also be required later.
Step 2: Configuring Horilla HRMS
Now that AWS is set up, it's time to configure Horilla to use the S3 bucket for storing media files. This involves modifying your settings.py file and creating a custom storage backend for handling private media.
2.1 Install Packages
Install the Python packages required for this configuration.
bash
pip install boto3 botocore django-storages2.2 Update settings.py
In Horilla's settings.py, remove any existing media root configuration, and replace it with the following AWS-specific settings:
python
# horilla/settings.py

INSTALLED_APPS = [
    ...
    "storages",
    ...
]

# MEDIA_URL = "/media/"
# MEDIA_ROOT = os.path.join(BASE_DIR, "media/")

AWS_ACCESS_KEY_ID = "<your-access-key>"
AWS_SECRET_ACCESS_KEY = "<your-access-key-secret>"
AWS_STORAGE_BUCKET_NAME = "<your-s3-bucket-name>"
AWS_S3_REGION_NAME = "<aws-region>"
DEFAULT_FILE_STORAGE = 'horilla.storage_backends.PrivateMediaStorage'
AWS_S3_ADDRESSING_STYLE = "virtual"

MEDIA_URL = (
    f"https://{AWS_STORAGE_BUCKET_NAME}.s3.{AWS_S3_REGION_NAME}.amazonaws.com/media/"
)
MEDIA_ROOT = (
    f"https://{AWS_STORAGE_BUCKET_NAME}.s3.{AWS_S3_REGION_NAME}.amazonaws.com/media/"
)
2.3 Create Custom Storage Backend
Next, create a new file called storage_backends.py in the horilla directory. This file will define a custom storage backend that ensures files are stored privately in your S3 bucket.
python
"""
horilla/horilla_backends.py
"""

from django.db import models
from storages.backends.s3boto3 import S3Boto3Storage

class PrivateMediaStorage(S3Boto3Storage):
    """
    PrivateMediaStorage
    """

    location = "private"
    default_acl = "private"
    file_overwrite = False
    custom_domain = False

# To set the private storage globally
models.FileField.storage = PrivateMediaStorage()
models.ImageField.storage = PrivateMediaStorage()
This ensures that any files uploaded via the profile_picture or resume fields will be stored securely in your S3 bucket.
By following these steps, you’ve successfully configured Horilla HRMS to use AWS S3 for private media storage. This setup ensures that sensitive media files are stored securely and can only be accessed via the application, keeping your users’ data protected.