

Appearance

Loan / Advance Salary, and Penalty/Fine Management
The Loan, Advance Salary, and Penalty/Fine sections within the Payroll module of the HRMS enable HR professionals to manage employee-related financial transactions effectively. Users can create, view, edit, and delete records related to loans, advance salaries, and penalties/fines, ensuring all related details are accessible and organized
Accessing the Loan Section
- Navigate to Payroll:
- On the left side menu, click on Payroll.
- Select Loan / Advanced Salary from the dropdown list.
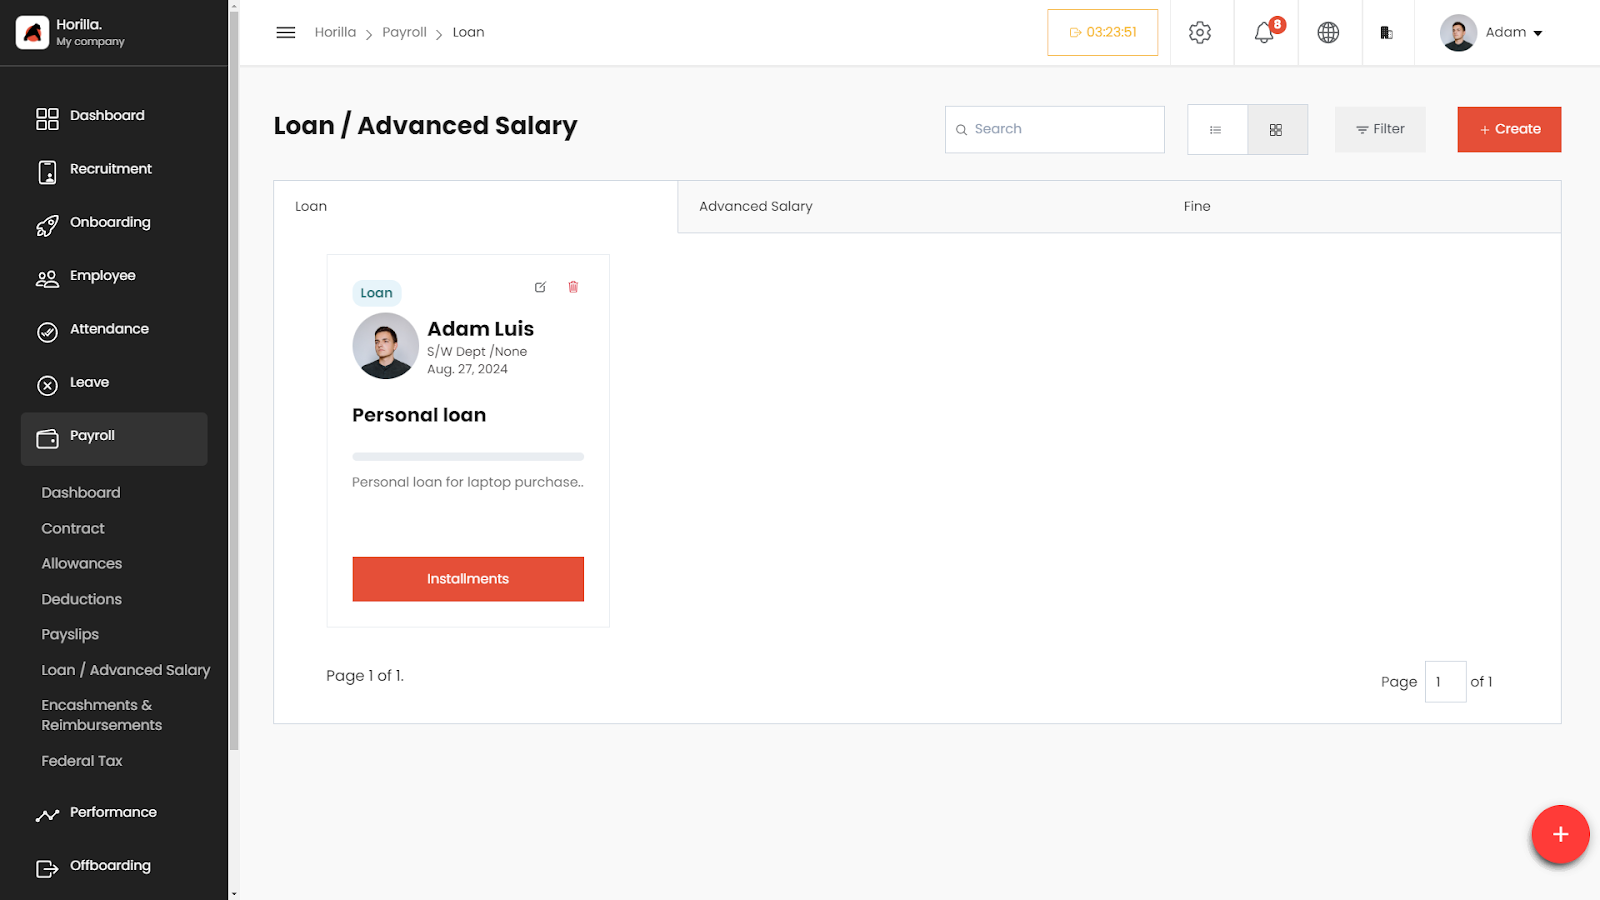
- The Loan page displays a list of all loan entries in a table format.
Working with the Loan Table
The Loan table provides a detailed view of all defined loans, with columns for:
- Type: The type of loan (e.g., Personal Loan, Educational Loan).
- Title: The title or description of the loan.
- Amount: The total amount of the loan.
- Employee: The employee receiving the loan.
- Installment Amount: The amount of each installment.
- Installment Start Date: The date when the installment payments begin.
- Total Installments: The total number of installments for the loan.
- Settled: Indicates whether the loan has been fully repaid.
- Actions: Buttons to view, edit, or delete the loan entry.
Filtering and Grouping Loans
- Filter Loans:
- Click on the Filter button to narrow down loans based on specific criteria such as loan type, employee, or settled status.
Creating a New Loan
- Click on the + Create button at the top-right corner of the Loan page.
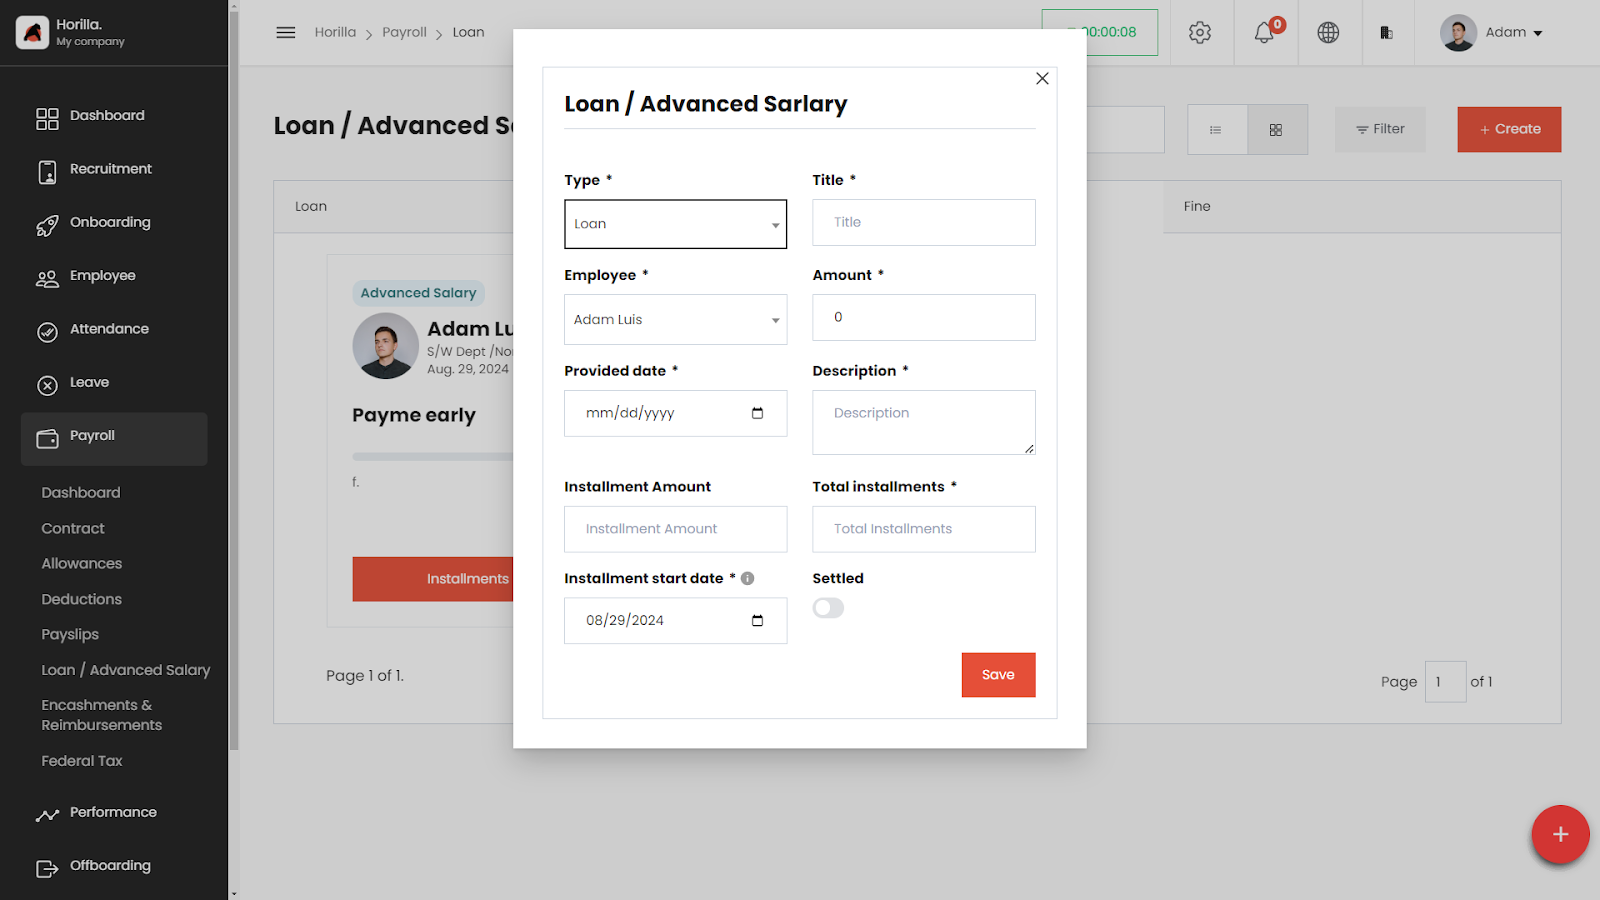
- Fill in the loan details:
- Type: Select the type of loan (e.g., Personal Loan, Educational Loan).
- Title: Enter the title or description of the loan.
- Amount: Enter the total loan amount.
- Installment Amount: Set the amount for each installment.
- Total Installments: Specify the total number of installments.
- Installment Start Date: Set the start date for the installments.
- Settled: Toggle on if the loan has been fully repaid.
- Description: Provide a detailed description of the loan.
- Save the loan by clicking the Save button.
Editing and Deleting Loans
- To Edit a Loan:
- Click the Edit icon next to the loan in the Actions column.
- Make the necessary changes and save.
- To Delete a Loan:
- Click the Delete icon next to the loan in the Actions column.
- Confirm the deletion.
Advance Salary Management
Advance Salary allows employees to receive a portion of their salary ahead of the scheduled payday. The HRMS system facilitates this process by enabling HR professionals to manage requests for advance salary efficiently.
Accessing the Advance Salary Section
- Navigate to Payroll:
- On the left side menu, click on Payroll.
- Select Loan / Advanced Salary from the dropdown list.
- Switch to the Advanced Salary tab within the Loan section to view a list of all advance salary requests.
Working with the Advance Salary Table
The Advance Salary table provides a detailed view of all defined requests, with columns for:
- Employee: The employee requesting the advance salary.
- Amount: The total amount requested.
- Request Date: The date the request was made.
- Installment Amount: The amount of each installment to repay the advance.
- Installment Start Date: The date when repayment installments begin.
- Total Installments: The total number of installments for repayment.
- Status: Indicates whether the request is approved, pending, or rejected.
- Actions: Buttons to view, edit, or delete the advance salary request.
Filtering Advance Salary
- Filter Advance Salary Requests:
- Click on the Filter button to narrow down requests based on specific criteria such as employee, status, or amount.
Creating a New Advance Salary
- Click on the + Create button at the top-right corner of the Advance Salary page.
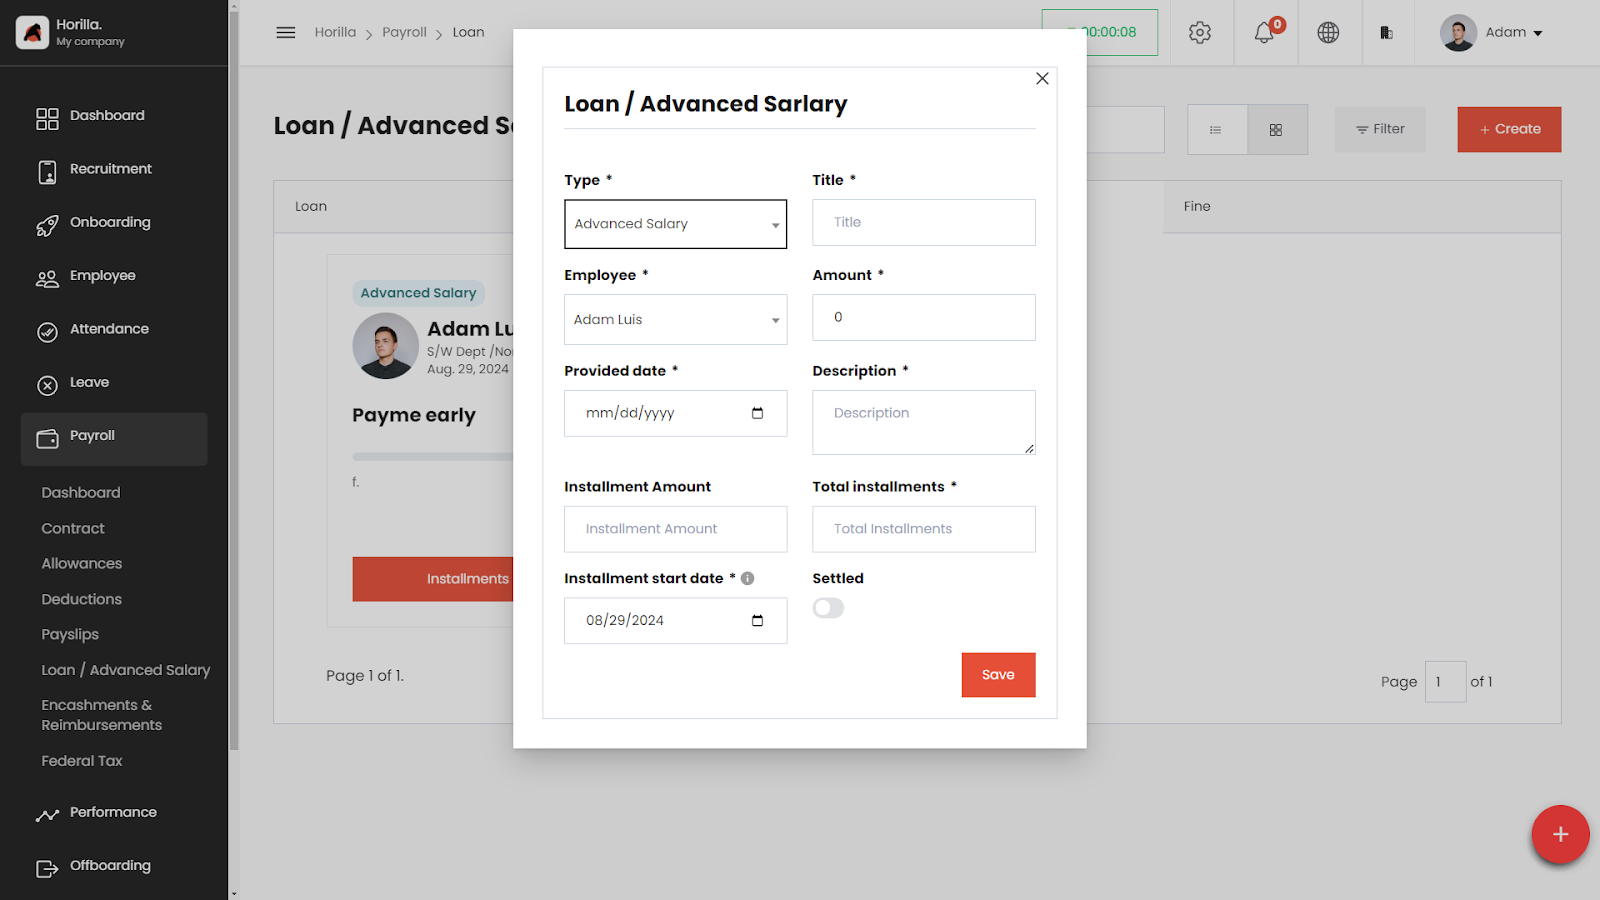
- Fill in the advance salary details:
- Employee: Select the employee requesting the advance salary.
- Amount: Enter the total amount requested.
- Installment Amount: Set the amount for each repayment installment.
- Total Installments: Specify the total number of installments.
- Installment Start Date: Set the start date for the repayment installments.
- Description: Provide a detailed description of the request.
- Save the request by clicking the Save button.
Editing and Deleting Advance Salary Requests
- To Edit an Advance Salary Request:
- Click the Edit icon next to the request in the Actions column.
- Make the necessary changes and save.
- To Delete an Advance Salary Request:
- Click the Delete icon next to the request in the Actions column.
- Confirm the deletion.
Penalty/Fine Management
The Penalty/Fine management section allows HR professionals to impose penalties or fines on employees for various reasons. The HRMS system facilitates the recording and management of these penalties/fines.
Accessing the Penalty/Fine Section
- Navigate to Payroll:
- On the left side menu, click on Payroll.
- Select Loan / Advanced Salary from the dropdown list.
- Choose Penalty / Fine from the Type dropdown when creating or managing entries.
Working with the Penalty/Fine Table
The Penalty/Fine table provides a detailed view of all defined penalties/fines, with columns for:
- Employee: The employee being penalized or fined.
- Amount: The total amount of the fine.
- Reason: The reason for the penalty/fine.
- Date Imposed: The date when the fine was imposed.
- Status: Indicates whether the fine has been paid or is still outstanding.
- Actions: Buttons to view, edit, or delete the penalty/fine entry.
Filtering and Grouping Penalties/Fines
- Filter Penalties/Fines:
- Click on the Filter button to narrow down penalties or fines based on specific criteria such as employee, status, or reason.
- Group By:
- Use the Group By feature to organize penalties/fines by categories like status or amount.
Creating a New Penalty/Fine Entry
- Click on the + Create button at the top-right corner of the Penalty/Fine page.
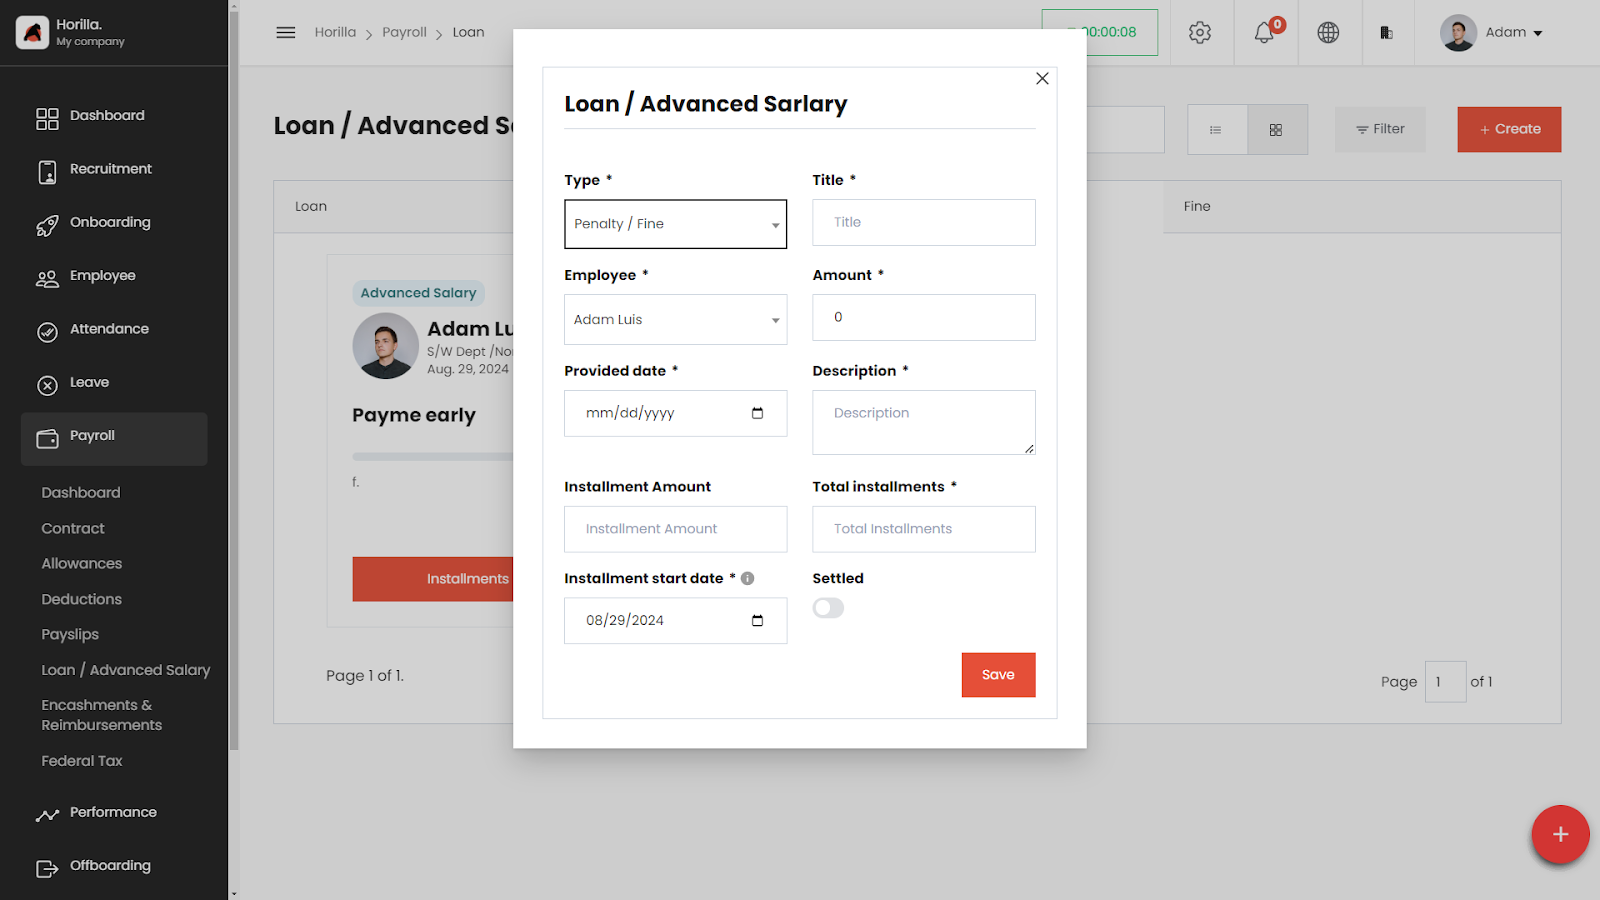
- Fill in the penalty/fine details:
- Type: Select the type of penalty.
- Employee: Select the employee being fined.
- Amount: Enter the total amount of the fine.
- Reason: Provide a reason for the penalty/fine.
- Provided date: Set the date the fine was imposed.
- Installment start date: When the startdate .
- Total installment: Add zero if it is a one time fine.
- Description: Provide a detailed description of the penalty/fine.
- Save the penalty/fine by clicking the Save button.
Editing and Deleting Penalties/Fines
- To Edit a Penalty/Fine:
- Click the Edit icon next to the penalty/fine in the Actions column.
- Make the necessary changes and save.
- To Delete a Penalty/Fine:
- Click the Delete icon next to the penalty/fine in the Actions column.
- Confirm the deletion.